I don’t really dream. At least if I do, I don’t remember them. So, when I recalled having bad dream after bad dream about tiling the kitchen counter, I thought it might be a message. That message was that this tiling endeavor would end in a huge and messy train wreck involving twisted Schluter profiles and back splash tiles falling off the wall into an overflowing sink. This was a project I was absolutely not looking forward to.
Despite bad dreams, we dove in head first in an attempt to have a working kitchen before our nephew Riley arrived from Seattle for a two-week visit.
Here is the kitchen prior to any counter work. As you can see, Rusty the cat is very interested to know what will happen next.
The cabinets against the strawbale wall.
Note the uneven surface of the wall and the rounded shoulder of the strawbale window ledge.
Scott brings in the first section of Kerdi Board. This "board" is hard foam board used in place of the two layers of exterior grade plywood and one layer of cement backer board we would have needed to install the tiled-under sink. Kerdi Board is fairly pricey, but we computed the cost of the plywood and backer board. Considering this and the amount of time saved using the Kerdi Board, we opted for the board.
 |
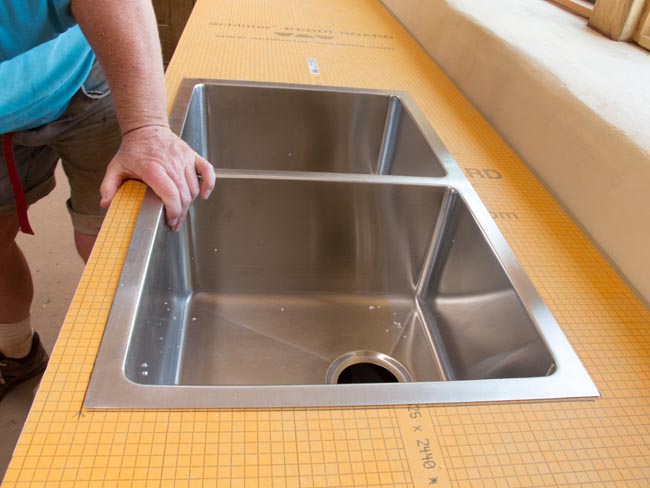
| Test fitting the sink |
 |
| It fits. |
The sink is proud of the Kerdi Board surface. To tile over the flange, the sink needs to be flush with the Kerdi Board.
Scott used a router to removed just enough Kerdi Board to allow for the sink to sit correctly.
 |
| It fits perfectly. |
When we first made the window ledge, we did not know we were going to put tile here. We made a very nicely curved edge.
Tile requires square edges and 90 degree corners. To remedy the situation, we need to square up the edge so there is no gap between the tiled ledge and the wall. The first step is to rough up (Yikes!) our once beautiful wall.
Never fear. Soon we'll have a 90 degree corner, a vertical wall and a level window ledge.
 |
| More plaster. |
 |
| More plaster. |
 |
| Removing the plaster guide. |
 |
| Scott filled in the gaps between the wall and the ledge. |
 |
| Fine tuning... |
 |
| Stentor, our cat, leaves his stamp of approval. |
While the plaster dries, we finish installing the Kerdi Board on the remainder of the cabinets.
 |
| We test-fit the cook top. |
 |
| I can see supper cooked in our completed kitchen in the near future. |
We needed to decide between two patterns: a running bond (like bricks on a house) or all of the tiles lined up. After surveying our family and friends, we decided upon lining up the tiles.
The Kerdi Board didn't seem strong enough to support the overhang of the counter, so Scott made three braces from the wood left over from our timber framing days.
I'm glad we bought a band saw at a local garage sale.
We added thin set to make the surface of the window ledge level.
This membrane called Kerdi Band will provide a water-proof barrier between the kitchen counter and the strawbale wall.
Here Scott puts the first of the edge profile on the small counter just inside the door to the kitchen.
 |
| Next comes the field tiles. |
 |
| Then the tile in the edge profile. |
This is the practice layout before we used thin set to hold the tiles in place.
 |
| Now for the real thing... |
 |
| Working on top of the counters... |
 |
| Scott cut a beautiful curve. |
 |
| Beginning the backsplash... |
 |
| We're getting there. |
 |
| Pete comes to inspect. |
 |
| He thinks the color of the tile matches his eyes. |
 |
| "A little to the left." |
 |
| Scott continues laying out the field tiles... |
 |
| while I finish the tiny pieces of backsplash under the window ledge. |
Stentor feels very comfortable on this counter. This is where a cat belongs.
 |
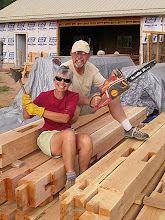
| Nikki comes to help and to bring us good cheer. |
 |
| Only a few steps to go. |
 |
| Preparing to grout |
 |
| Grouting the back splash |
 |
| Phillip and McKay finish installing the cook top and sink faucet. |
Scott prepares the first meal in our completed kitchen. Stir fry. Delicious!


")


