Saturday, January 25, 2014
The Return of Doug and Shanna
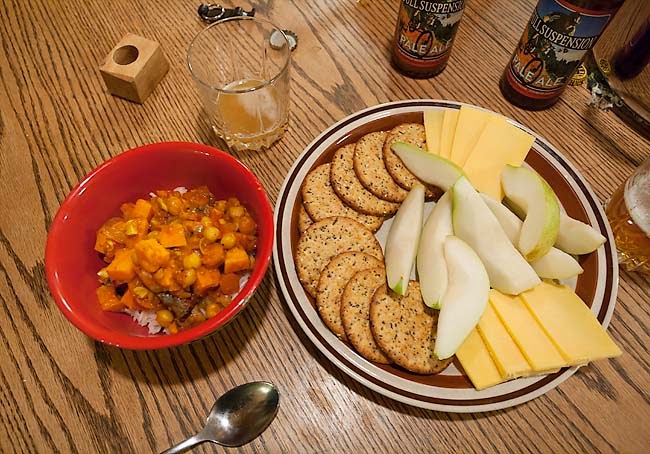
When Doug and Shanna visit, everyone is happy, not only for their great company and their wonderful help with construction, but the food really improves.
Storage Loft
From the floor to the peak of the king post trusses, the
interior height of our house is about sixteen feet. In a living room, that creates the open feeling we wanted to
achieve with the timber frame design. However, with ceilings that high, the
proportions of smaller rooms like a bathroom or closet would have been all
wrong. Taking a shower or changing clothes in that space would have felt like
standing at the bottom of a very deep well. So, rather than leaving those rooms
open to the peak of the king trusses, we decided to lower the ceiling of those rooms to ten feet.
Not only have these lowered ceilings made us feel less like
trespassers in the Jolly Green Giant’s house, but they have also provided a
vast amount of storage space for things that we’ll only use once or twice a
year. That would be luggage or Christmas decorations or empty wine bottles
waiting to be refilled. Basically everything that is stored in the crawl space
under the house in Logan will eventually be above the bathroom and closet in
Torrey.
Scott felt this storage loft needed a partition to screen these
items from view. To that end, we,
once again, employed one of our favorite materials, bamboo, which was left over
from a previous project.
 |
| The loft before the screen |
 |
| The frame of the gate to the loft |
 |
| The loft with the screen and the gate |
Bill Ellzey Book Case
-->
Many years ago Scott and I traveled to the eastern Sierra Nevada, south of Mono Lake, for a
gathering of professional photographers. There we had the pleasure of meeting
Bill Ellzey, a photographer based in Crestone,
Colorado. One night as we sat around the campfire telling stories, Bill
mentioned that he had built a strawbale house. Scott and I perked up our ears
at this because we had recently begun reading about strawbale construction
and wanted to know more about Bill’s experience. He had brought a photo album showing his house, so the three of us spent several hours
pouring over the pictures and talking. He was the first person
we actually knew who had built and lived in a strawbale house!
When we began researching in earnest, we saw
Bill’s house featured in one of our strawbale books. One photo really struck a chord
with me, and that was of a bookcase Bill had built. My favorite thing about it
was the irregular spacing of the shelves. Some were long and narrow, others
short and wide - each space seemingly sized to fit a specific item, including a
very large space to accommodate a painting.
I absolutely fell in love with that bookcase and told Scott
I wanted something similar to it in our house. Ever since, I’ve been thinking about and designing our very
own "Bill Ellzey bookcase," and last weekend we finished it. Using oak plywood
and Home Depot vine trim, plus flexible LED light strips, it is better than I
ever imagined it could be, and I thank Bill for the inspiration.
 |
| A preliminary plan with notes |
Because we wanted the plaster wall to show, the bookcase does not have a back. This meant we needed to provide some means to prevent the bookcase from racking from side to side (or from falling over if the Teasdale Fault suddenly becomes active). We drilled holes through the plaster to the two by six studs, then screwed braces to the wall. These braces are aligned with the top of the bookcase and with a middle shelf. These are screwed to the braces, which prevents the bookcase from moving.
Almost everything was built on the floor to ensure the shelves were in the correct place. This made it possible to easily keep shelves parallel, and, best of all, we didn't need to work over our heads.
Next, we set the bookcase in place and screwed the top and middle shelves to the braces. Here you can see the brace under the top shelf.
The oak plywood is 3/4 inch thick, which is too thin to look like the original Bill Ellzey bookcase, so we added two-inch oak boards to the front of each horizontal and vertical element. Not only is this more esthetically pleasing, but the wide trim makes it possible install unobtrusive lights.
The trim around the adjacent door and all of the baseboards is vine trim purchased from Home Depot. We used a thinner version of the same trim on the bookcase.
During a search on the internet, we discovered these flexible LED light strips. You can cut the strip to various lengths with scissors. Peel the tape off the back and they stick to any surface you wish to illuminate.
Our very own (partially filled) "Bill Ellzey bookcase."
Labels:
bookcase,
LED lights,
Lights,
shelves,
walls
Subscribe to:
Comments (Atom)


